こんにちは。
今回は、その1、その2と続いて、その3の回です。
タップカウントはできたので、数字を0にするリセットボタンを追加します😃
まずは、リセットボタンから作りましょう。
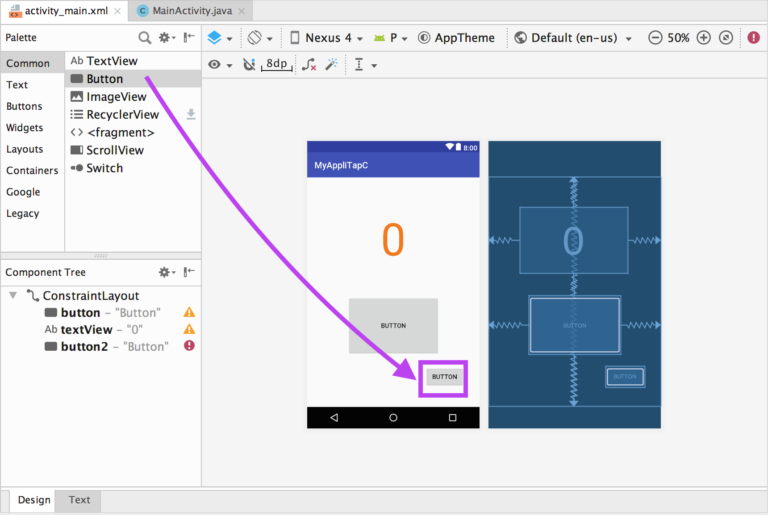
↓ いつものように左欄からドラッグしてボタンを持ってきます。
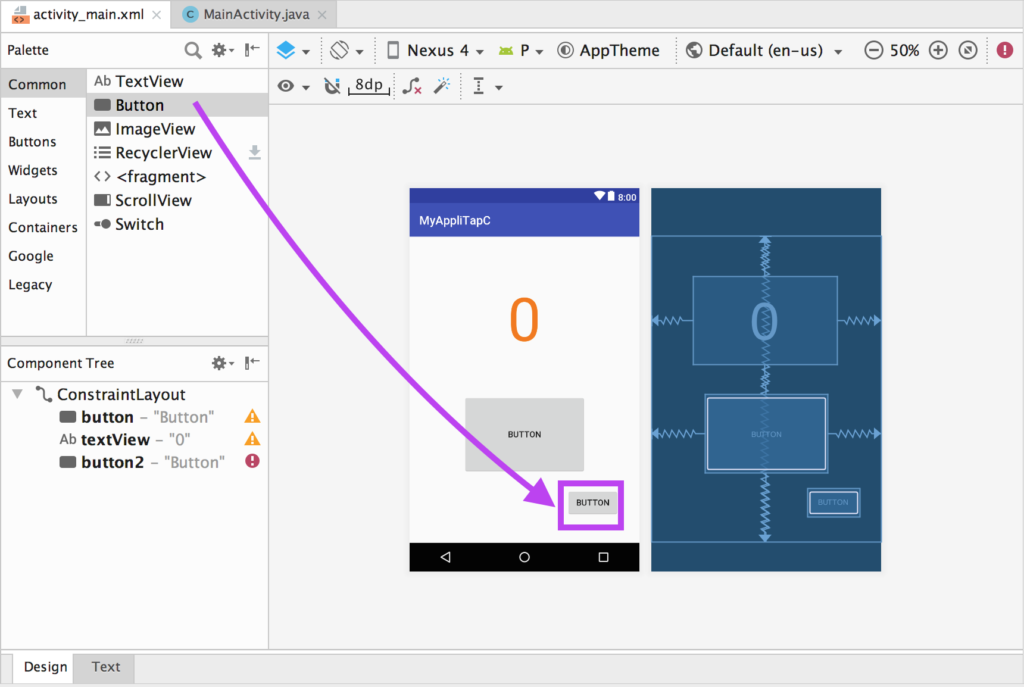
↓ textタブのコードも見てみます。
名前変えたりと微調整します。
<Button
android:id=”@+id/button2″
android:layout_width=”wrap_content”
android:layout_height=”wrap_content”
android:text=”Reset”
app:layout_constraintBottom_toBottomOf=”parent”
app:layout_constraintHorizontal_bias=”0.827″
app:layout_constraintLeft_toLeftOf=”parent”
app:layout_constraintRight_toRightOf=”parent”
app:layout_constraintTop_toTopOf=”parent”
app:layout_constraintVertical_bias=”0.892″ />
↓ Designタブでも確認します。
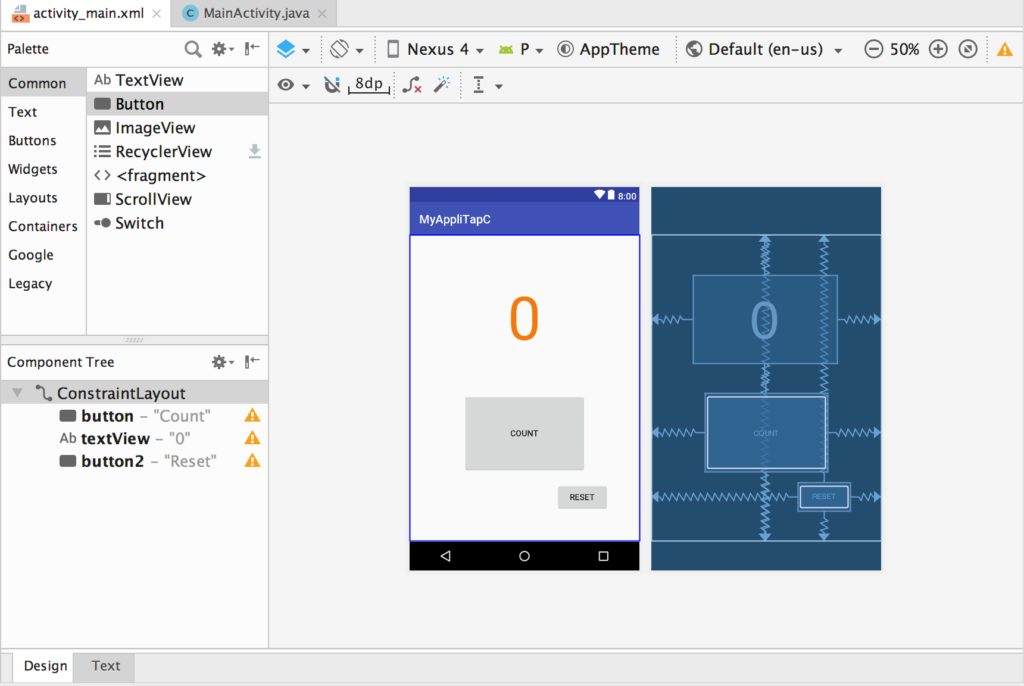
MainActivity.javaにコードを書いていきます。
今回は、リセットボタンの記述を追加しましょう。
↓ メンバ変数を記述します。メンバ変数は、関数外で定義される変数です。
リセットボタンを追加します。
// ボタン
Button button;
// 画面
TextView text;
// リセットボタン
Button rbutton;
Button button;
// 画面
TextView text;
// リセットボタン
Button rbutton;
↓ 次に、onCreate関数内に以下のコードを追加します。
// リセットボタンが押下された時の処理
rbutton.setOnClickListener(new View.OnClickListener() {
@Override
public void onClick(View view) {
// 0を持つ定数
int num = 0;
// 定数0を画面のテキスト情報にセット
text.setText(String.valueOf(num));
}
});
rbutton.setOnClickListener(new View.OnClickListener() {
@Override
public void onClick(View view) {
// 0を持つ定数
int num = 0;
// 定数0を画面のテキスト情報にセット
text.setText(String.valueOf(num));
}
});
0の定数を用意して、テキスト情報にセットしているだけです✌
↓ では、エミュレータを動かしましょう。
タップして、タップして、タップして、、、、
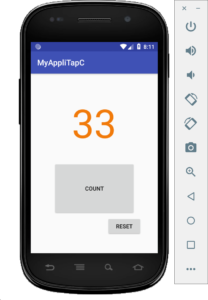
↓ リセットボタンを押すと、カウントが0になりました。
成功です。
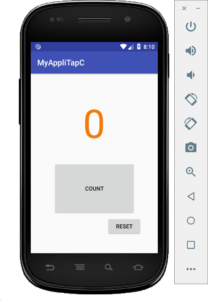
、、、、しかし!
↓ 再びタップすると、1からでなく34からになっています💦
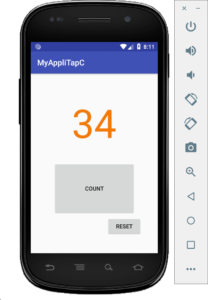
なぜ?34??
リセットボタンを押す前が33だったから?
表示上は0に戻ったけど、タップボタン上か処理の中では33を保持し続けていたとかですかね。
こういう想定外なミスがあるからコーディングは面白いですね💦
次回は、原因の特定と修正にのぞんでみようと思います。
では、また次回✋
コメント
自分も同じ失敗起きました!
もっとすらっと書ける方法ってないんだろうか・・