
こんにちは。
前回の続きです。
今回はボタンを設置してみましょう。
Text Viewと同じように書けばいいのかなと。。。
↓ <B….. と打ち込むと、予測変換で、<Button…と出してくれますね。
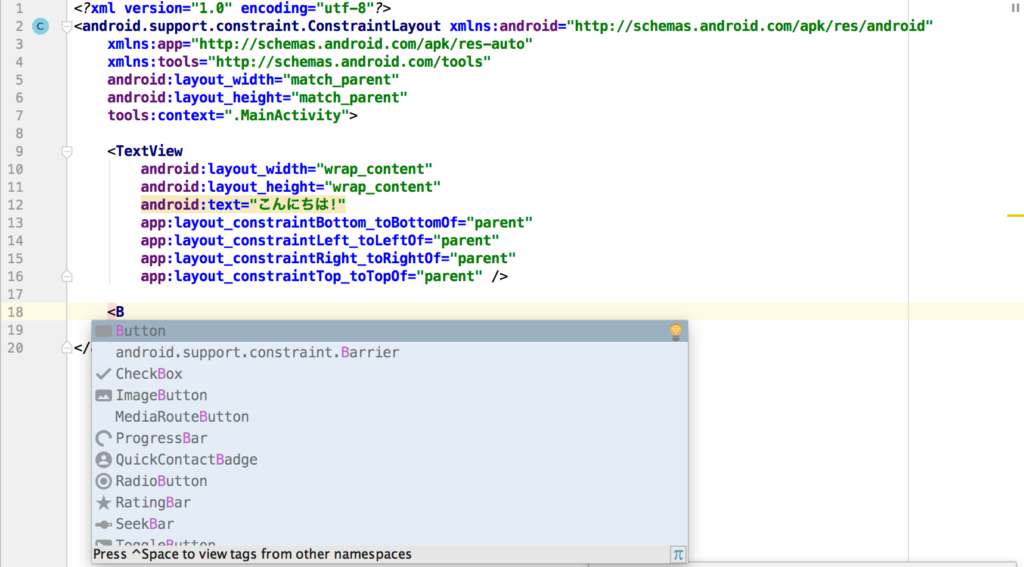
↓ 予測変換から<Button…を選ぶと、設定を自動で記述してくれます✌
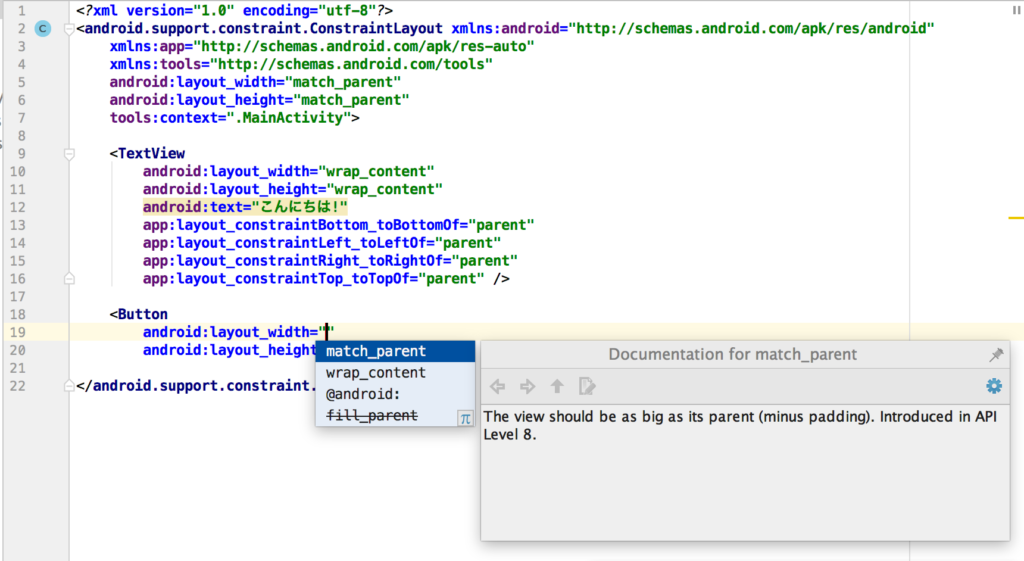
↓ 幅(layout_width)と高さ(layout_height)は、Text Viewと同じようにwrap_content
と入れておきましょう。
android:layout_width=”wrap_content”
android:layout_height=”wrap_content” />
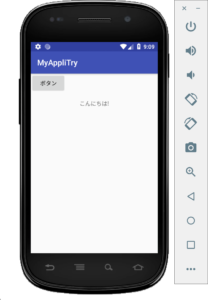
↓ それから、AVDを起動すると、左上にボタンのようなものが出現します⁉

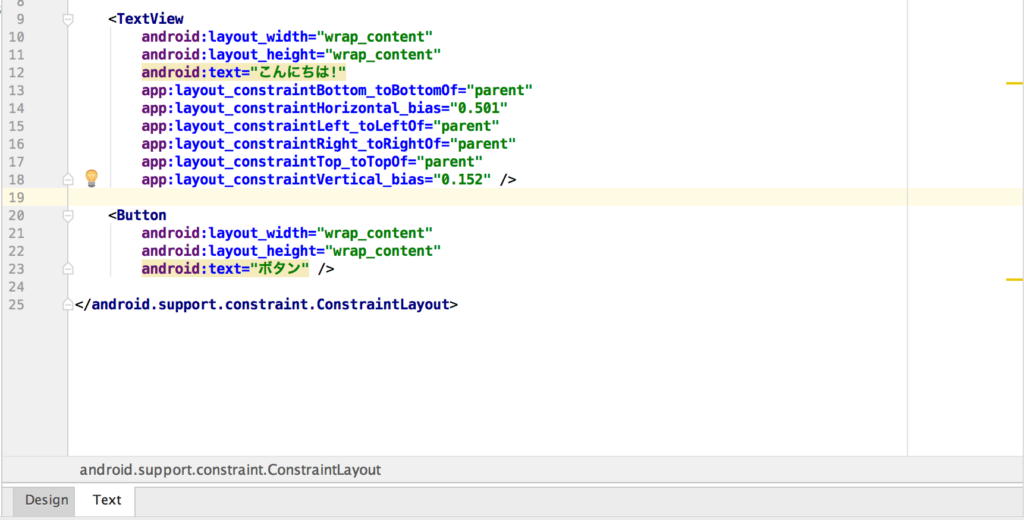
↓ こちらもText Viewと同じように、ボタンに表示する文字を記述しておきましょう。
android:layout_width=”wrap_content”
android:layout_height=”wrap_content”
android:text=”ボタン” />
↓ 見てみると、ボタンに「ボタン」と表示されました✌

あとは、ボタンの位置を変更したいですね。。。
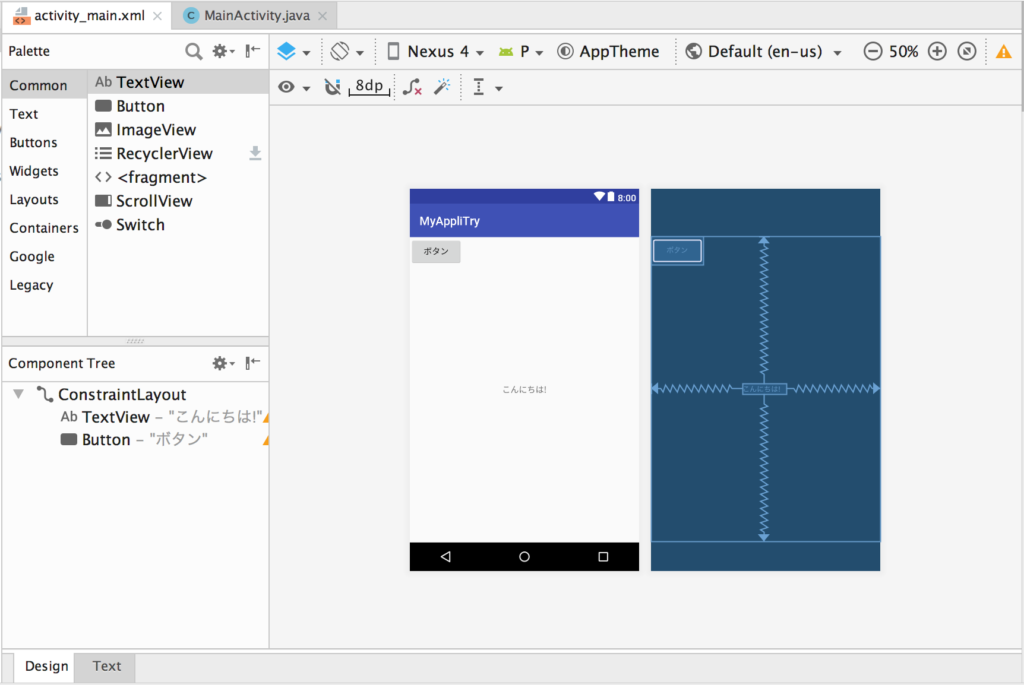
↓ 左下とみると、「Design」「Text」と書かれているタブがありますね。
今は、「Text」タブなので、「Design」タブを押してみましょう。
↓ 「Design」タブに切り替わりました。直感的に操作できそうなので、ボタンを動かしてみましょう。
↓ ボタンを真ん中下に持って行きましょう。
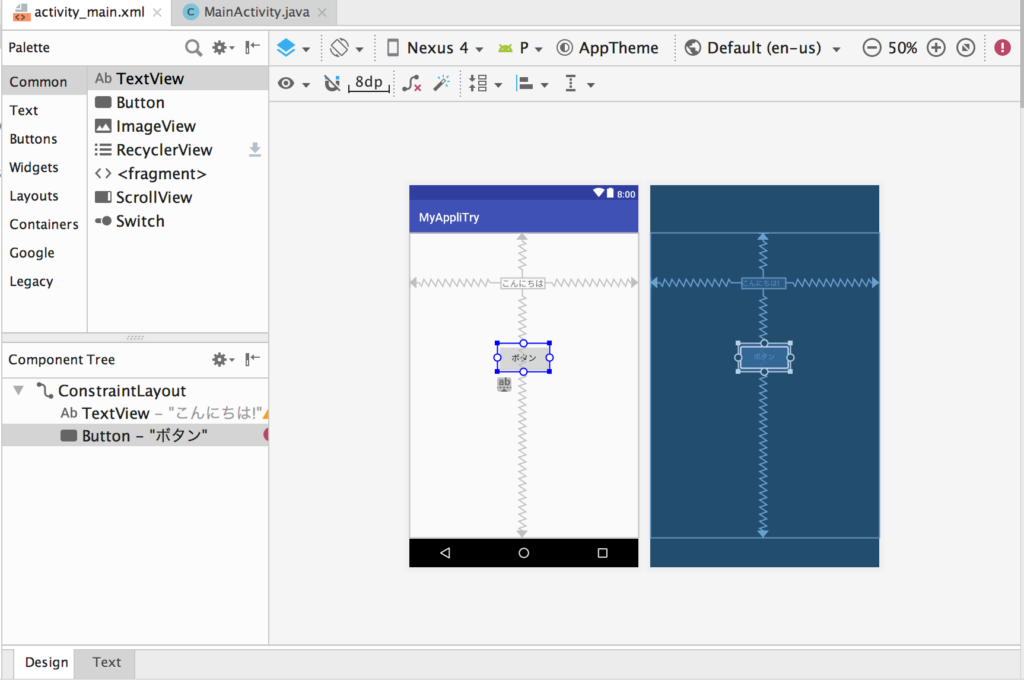
↓ 「Text」タブに切り替えてみると、位置情報の記述が増えています。
android:layout_width=”wrap_content”
android:layout_height=”wrap_content”
android:text=”ボタン”
tools:layout_editor_absoluteX=”148dp”
tools:layout_editor_absoluteY=”185dp” />
↓ それで、AVDを見てみると。。。。
あれ?変更されていない💦
↓ コードをよく見ると、エラーが出てますね💧
「This view is not constrained.・・・」というエラーが。。。

↓ Text Viewにも書かれていますが、ConstraintLayoutの制約で、
以下の4つの記述が必要なのだと。
まず定める位置を定義する必要があるんでしょうかね😞
android:layout_width=”wrap_content”
android:layout_height=”wrap_content”
android:text=”ボタン”
tools:layout_editor_absoluteX=”148dp”
tools:layout_editor_absoluteY=”185dp”
app:layout_constraintBottom_toBottomOf=”parent”
app:layout_constraintLeft_toLeftOf=”parent”
app:layout_constraintRight_toRightOf=”parent”
app:layout_constraintTop_toTopOf=”parent” />
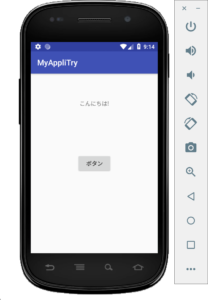
↓ これで想定通りの場所にボタンが移動しました。
結構手探りで弄り回している感じですが、今日はここまで。
そろそろ、javaとの連携をさせてみたいな😃
コメント